
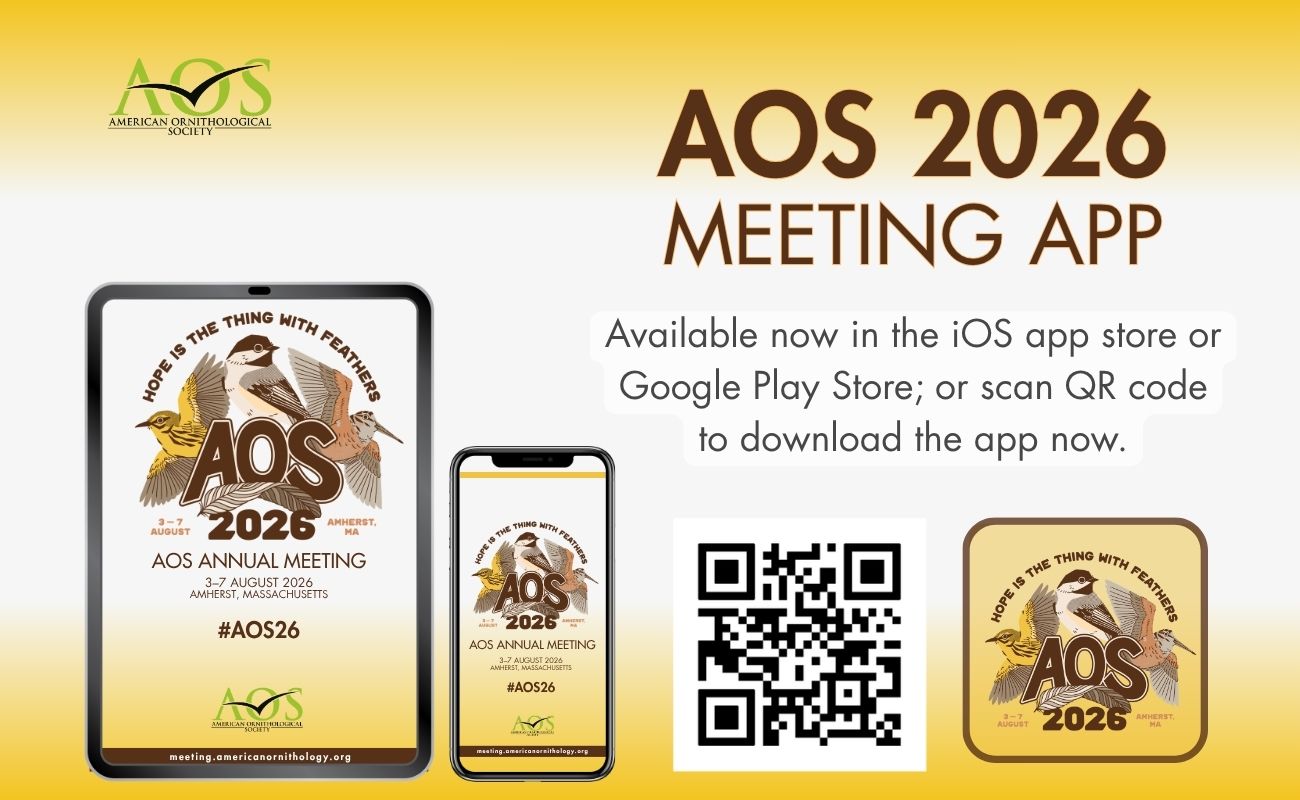
Maximize your time at the event with the AOS 2026 mobile app. Easily view the Schedule, Speakers, Photo Gallery, Instant Alerts and more! You can even create personalized lists to target what you want to see, hear, and do.
App Download Instructions
For iPhone and Android users – To download the AOS 2026 Annual Meeting app visit https://www.tripbuildermedia.com/apps/aos2026. This link will automatically detect your phone type and take you to the right place to download the app on the Apple App Store or Google Play Store. Or, just scan this QR Code and download the app now!
To Search via keywords: AOS 2026, American Ornithological Society, AOS2026
Apple users (iPhone, iTouch, iPad) users – Go to the Apple App Store and search “AOS 2026” to find and download the app.
Android users – Go to the Google Play Store and search “AOS 2026” to find and download the app.
All other web-enabled devices (including computers) – type the following link into your browser (https://www.tripbuildermedia.com/apps/aos2026) and it will take you to the HTML5 web version of the app.
Logging into the App
On the login screen, enter your username and the password in which you have set via the login credentials email or via the Reset Password link on the login screen.
On the app login screen click the Reset Password link. Enter in your email address in which you’ve registered for the event with and this will send you an email that contains the link to set your password.
Once you have set your password, please navigate back to the login screen of the mobile app and enter in your email address as your username and the password you’ve recently set.
Get to Know the App
When you first log into the app you’ll be greeted by the guided tour. Click through the different slides for helpful tips & information about navigating the app. You can access this guided tour at any time by clicking the ? on the home screen of the app.
Personalizing Your Experience
Create your personalized lists (such as your MySchedule or your MyContacts list) by clicking on the empty circle for each specific entry so a check mark appears for that entry (if an entry has a check mark on it that means it has been added to your MyEvent). To then access your personalized lists, click the MyEvent icon from the home screen of the app.
Exporting MyEvent Lists
Once you’ve created your personalized lists, to export these lists to your email, click the MyEvent icon from the home screen. Once you are within the MyEvent you will see a listing of your different personalized lists. Select the “Export” button located in the top right corner of the screen. Next check off which list(s) you would like to export, enter in your email address and push send. This will send you your personal lists from within the app in an exported Excel file.
Complete Your Profile
Click the MyProfile icon to edit your profile on the attendee list. Add or remove your basic and contact information, upload your photo and more. Choose which fields you would like visible to all attendees on the attendee list by selecting which fields are public or private via the lock icon for each field.
Attendee Networking
Easily Connect with fellow attendees via the Let’s Meet button on the attendee list. This will enable you to send an initial email through the app to the intended recipient. The recipient can then choose to respond back to you directly via email. Email addresses are protected on the app until you choose to share it with a fellow attendee. Sort the attendee list alphabetically by Name or by Company to easily find who you’re looking for.
Navigating the Schedule
The schedule is sorted by date and then time within the day. Click the All toggle to see all sessions for the selected day. While at the event, click the Now toggle to see all sessions happening at that specific date and time. Click the magnifying glass to search the schedule by keywords to find applicable sessions. Click the funnel icon to filter the schedule by specific filter categories. Click into any session to see more information and details about the session along with information about the session’s presenters.
Checking into Sessions
Within the schedule on the app there will be a Check In key icon button on the session’s detail screen if there is a tracking code associated with that session. Tap the Check In icon on the session to spur the popup to enter in the appropriate 4 digit code for that session. Once you’ve entered the correct 4 digit code & click Submit you’ll receive a popup saying you have successfully checked in to the session.
Within the MyEvent main menu icon click on MySession Tracking to view the full list of sessions in which you have successfully checked in. This will display the session title, session date and time, as well as the date and time in which you’ve checked in to the session.
Finding Sessions & Exhibit Booths
If a session and/or exhibitor booth has been linked to a floor plan, click the Map It button for that entry to be taken to the applicable floor plan such as the hotel floor plan or exhibit hall floor plan.
Be Social
Interact with fellow attendees by uploading/sharing photos to the in-app Gallery. Post comments and questions on the Social Feed to connect with fellow attendees about topics of interest.
Get the Latest App Information:
When there are new updates or information in the app, a red “Sync” badge will appear on the main menu of the app in the top toolbar. Click the sync icon to sync your app to get the latest updates. *Internet or cellular data connection is required to sync the app.



 English
  Spanish
  French